Walk into almost any gas station or convenience store, look up, and you’ll probably see yourself on a video surveillance monitor.
For many business owners, publicly displaying surveillance feeds can be a powerful deterrent to would-be criminals, letting them know that security cameras are watching. Public view monitors can also be reassuring to law abiding customers, who can see that a working video surveillance system is in place.
Depending on where you place your public display monitor, it can also help with general oversight by allowing store managers and or employees to keep an eye on multiple areas at once, enhancing overall safety and security.
If you’ve purchased a March Networks 8000 Series 8, 16 or 32-channel Hybrid NVR, you can easily display video from both your analog and IP cameras on a monitor inside your business. Using our Public View feature, you can customize your camera views so you display video from specific areas of your store, in the sequence and timeframe that best suits your needs.
Getting started
Before getting started, ensure you’re using the latest version of the March Networks Administrator Console and the corresponding version of firmware on the recorder.
Using an HDMI cable, connect your monitor to the recorder through the HD monitor output port on the back of the unit. (Alternatively, you can use a coax cable and connect to the recorder’s BNC output. If you’re going this route, you can also use a traditional CCTV analog display monitor.)
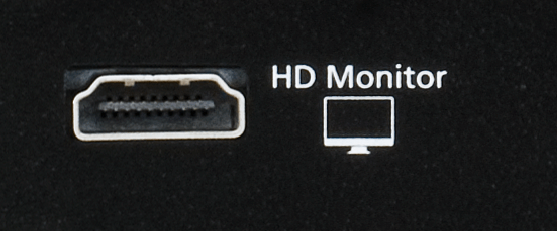
The first time you connect your recorder to a monitor, it will automatically display images from all of your analog cameras at 5-second intervals. You can then reconfigure the settings to display different camera views, and shorten or lengthen the display time, as we’ll explore below.
If you are planning on using a monitor that is not equipped with an HDMI input, make sure that the monitor you plan to display your video on has a 16:9 aspect ratio. (HDMI to VGA converters do not support a change to the aspect ratio.)
Configuring Public View
To configure a Basic Public View monitor, login to Administrator Console. Under Task Type, Device Configuration, you’ll see a Settings box on your left hand side. Scroll down the page to the bottom and select “Public View.”
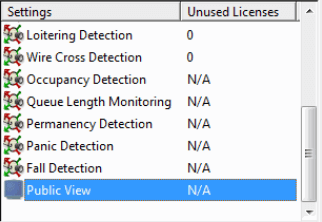
In the middle of your page you should see three tabs: Dwell Time, Grid Size and Camera Type.
Dwell Time refers to the length of time you want to display video from each camera grid.
Grid Size is the number of camera views you want to see at one time, and Camera Type lets you select which cameras you want to display video from: only analog cameras, only IP cameras, or a combination of both (All Cameras).
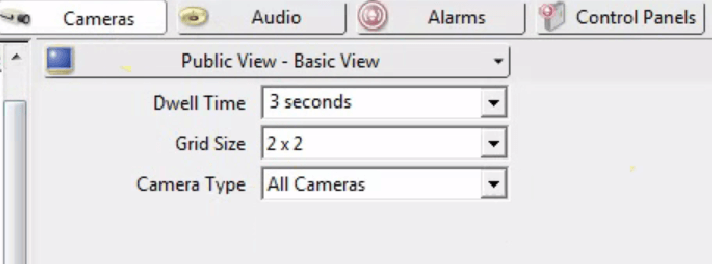
Using the above pictured Public View settings, you would see video from both your analog and IP cameras on 2 X 2 grid that would change every 3 seconds.
Use the drop down tabs to select your preferred settings, and click the Apply Settings tab at the bottom right hand side of your page.
Creating custom views with grid pages
To create more customized views, click on the Public View tab and move from Basic View to Custom View in the drop down.
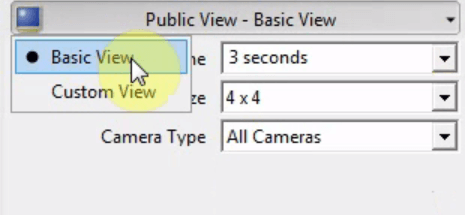
Here, you can add custom grid pages to your monitor display. For example, perhaps you want to see all your outdoor cameras on one grid, or all cameras at entrances and exits on another grid. Create your own customized grids by clicking Add Page, and then dragging and dropping camera views from the Page Editor box into the supplied grid.
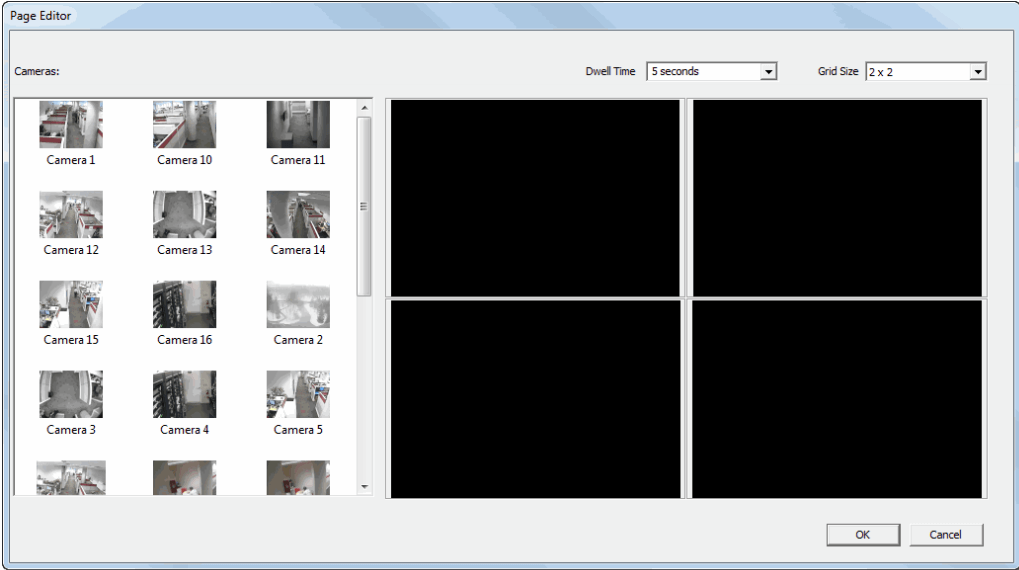
You can also set the dwell time and change the grid size here as well. You can add multiple pages, and then see all of the pages you’ve created in your Custom View list.
Finish by clicking on the “Apply Settings” tab.

Triggering video output based on events
Prior to the creation of this Public View feature, if you wanted to display video from your March Networks recorder on a monitor, you had to configure it through the Actions tab in Administrator Console. This involved selecting the Action type (an alarm, for example) that would trigger the video to display.
You can still configure video to display based on an event by selecting the Actions tab. Just choose the type of event you want to trigger the video output and from which cameras. You can also set the sequence of views here, or through the Public View feature.
Be mindful of performance
It’s important to note that enabling the Public View feature can impact your processing power, especially if you’re displaying video from multiple IP cameras. A great rule of thumb to follow is to spread IP cameras over multiple grid pages, as opposed to displaying all IP cameras on one page.
To maintain optimal performance, keep video processing units below 2880. If you’ve configured your Public View with multiple pages, you must calculate units consumed per page and stay within the limit (so, stay below the 2880 unit maximum per page), otherwise you risk creating performance issues including blacked out cells on your image grid, or a flickering screen.
Read our Visual Intelligence Release Notes for specific examples of frame rates and resolutions that can help you stay within this threshold.
For more information, or to watch a helpful video demonstration on configuring public view, visit our Online Training site or download the Administrator Console User Manual.
Need to view video without client software?
Interested in connecting a monitor directly to your NVR for the purpose of viewing live video, searching through video archives, or exporting video to a USB? Learn about enabling Local Control here.


